

Getting Started + Testing with Angular CLI and Angular 2 (RC5)
I started creating Angular 2 applications when it was in beta (back in March). To keep up with Angular 2's changes, I wrote a tutorial about developing with RC1 in June. Earlier this month, RC5 was released and many things changed once again. I think Scott Davis sums it up nicely in a tweet.
They keep saying "Release Candidate", but I don't think it means what they think it means...
— Scott Davis (@scottdavis99) August 10, 2016
/cc #angular2 #rc5 https://t.co/WmNalTYgTN
To keep up with the rapid pace of change in Angular 2, I decided to write another tutorial, this time using Angular CLI. The biggest change I found since writing the last tutorial is testing infrastructure changes. Since Angular's Testing documentation hasn't been updated recently, hopefully this tutorial will help.
Below is a table of contents in case you want to skip right to a particular section.
What you'll build
You'll build a simple web application with Angular CLI, a new tool for Angular 2 development. You'll create an application with search and edit features.
What you'll need
- About 30-40 minutes.
- A favorite text editor or IDE. I recommend IntelliJ IDEA and its Angular 2 TypeScript Live Templates plugin.
- Node.js and npm installed. I recommend using nvm.
- Angular CLI installed. If you don't have
Angular CLI installed, install it using
npm install -g angular-cli@latest.
The latest release of Angular CLI (beta 10) uses Angular 2 RC4. Because of this, I used
the master branch of Angular CLI to create this tutorial. To do this, clone angular-cli and
run npm link in the directory you cloned it into. If you have issues,
see #1733.
Angular Augury is a Google Chrome Dev Tools extension for debugging Angular 2 applications. I haven't needed it much myself, but I can see how it might come in handy.
Create your project
Create a new project using the ng new command:
ng new ng2-demo
This will create a ng2-demo project and run npm install in it. It takes
about a minute to complete, but will vary based on your internet connection speed.
[mraible:~/dev] 45s $ ng new ng2-demo
installing ng2
  create .editorconfig
  create README.md
  create src/app/app.component.css
  create src/app/app.component.html
  create src/app/app.component.spec.ts
  create src/app/app.component.ts
  create src/app/environment.ts
  create src/app/index.ts
  create src/app/shared/index.ts
  create src/favicon.ico
  create src/index.html
  create src/main.ts
  create src/system-config.ts
  create src/tsconfig.json
  create src/typings.d.ts
  create angular-cli-build.js
  create angular-cli.json
  create config/environment.dev.ts
  create config/environment.js
  create config/environment.prod.ts
  create config/karma-test-shim.js
  create config/karma.conf.js
  create config/protractor.conf.js
  create e2e/app.e2e-spec.ts
  create e2e/app.po.ts
  create e2e/tsconfig.json
  create e2e/typings.d.ts
  create .gitignore
  create package.json
  create public/.npmignore
  create tslint.json
  create typings.json
Successfully initialized git.
- Installing packages for tooling via npm
  -- es6-shim (global)
  -- angular-protractor (global dev)
  -- jasmine (global dev)
  -- selenium-webdriver (global dev)

Installed packages for tooling via npm.
[mraible:~/dev] 1m5s $
You can see the what version of Angular CLI you're using with ng --version.
$ ng --version
angular-cli: local (v1.0.0-beta.11-webpack.2, branch: master)
node: 4.4.7
os: darwin x64
Run the application
The project is configured with a simple web server for development. To start it, run:
ng serve
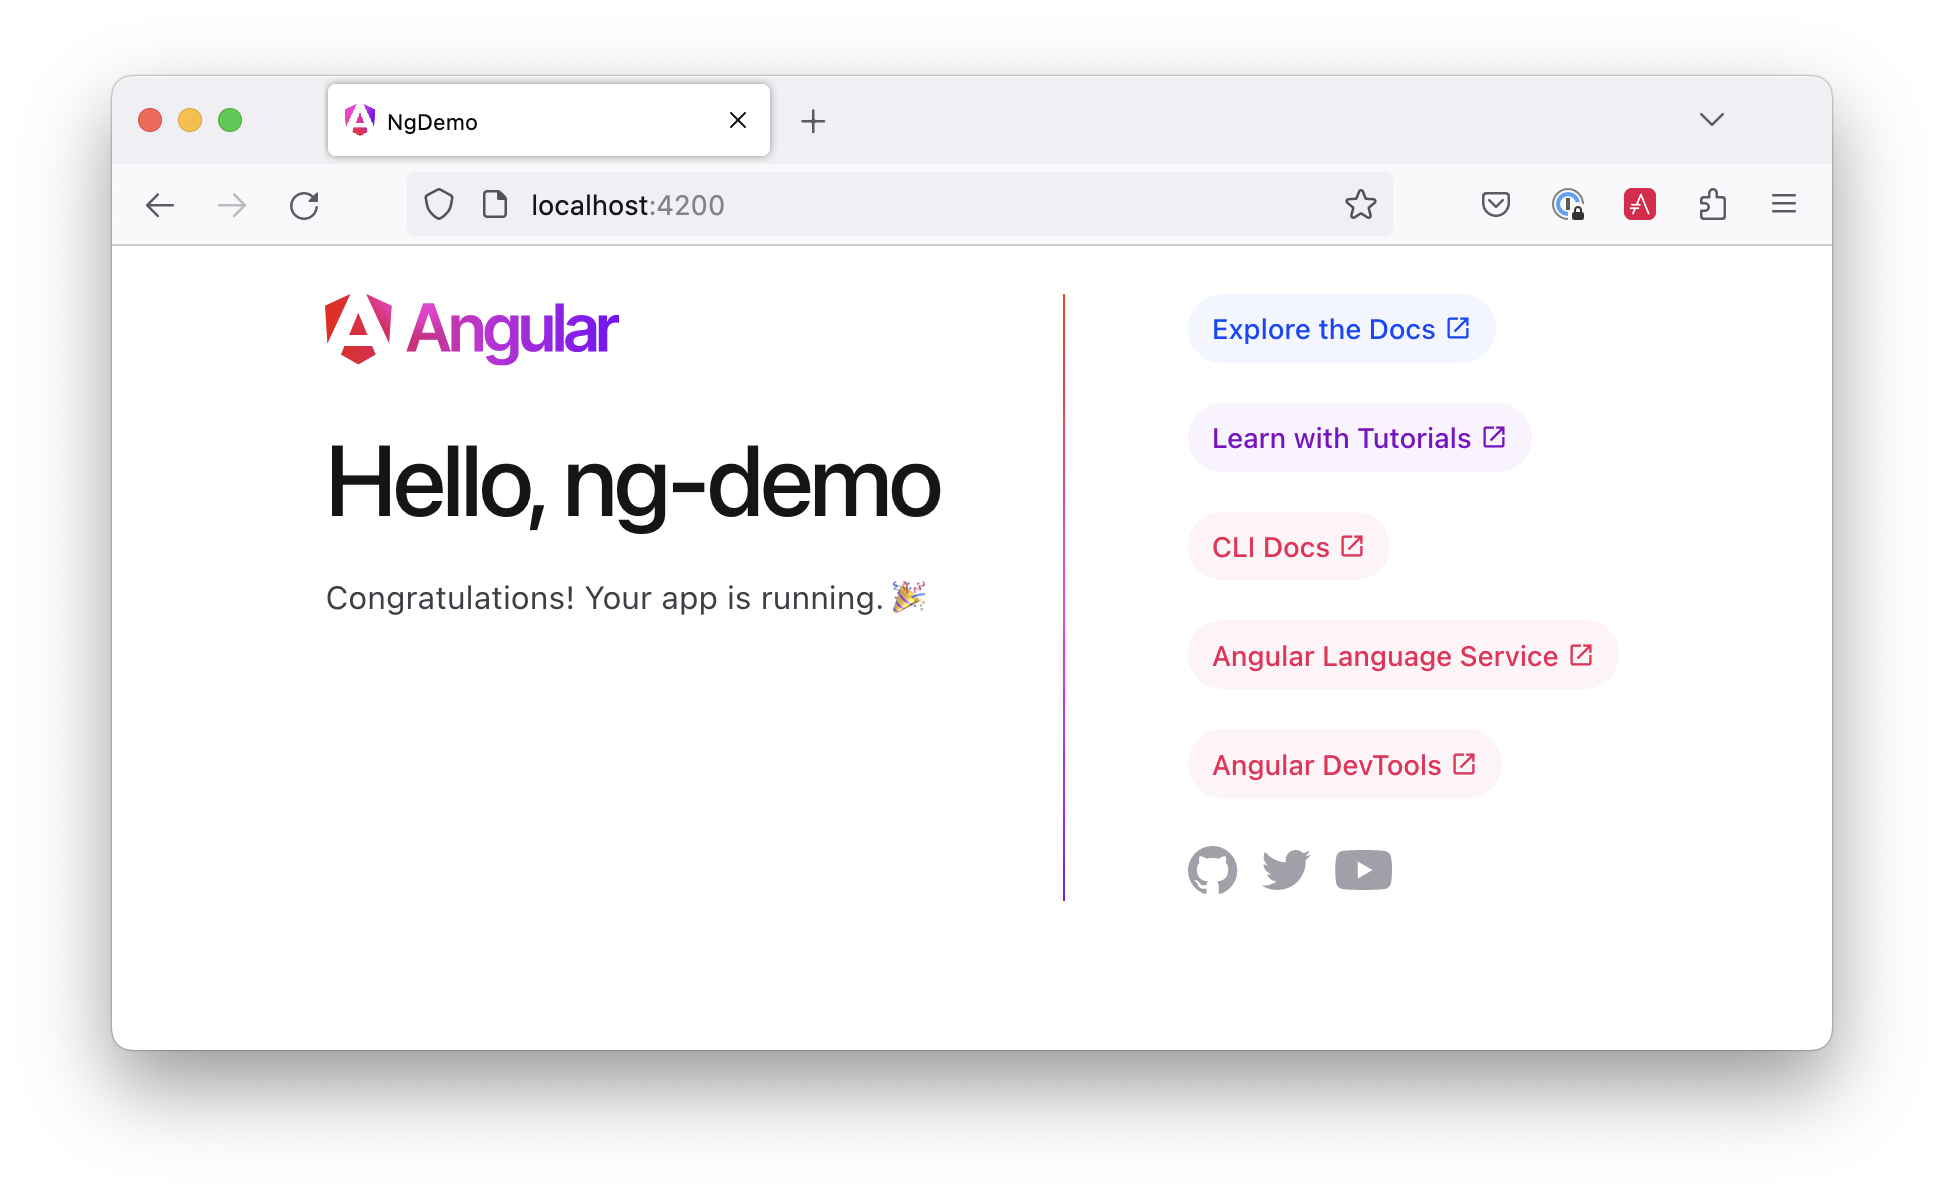
You should see a screen like the one below at http://localhost:4200.
You can make sure your new project's tests pass, run ng test:
$ ng test
Built project successfully. Stored in "dist/".
...
Chrome 52.0.2743 (Mac OS X 10.11.6): Executed 2 of 2 SUCCESS (0.039 secs / 0.012 secs)
Add a search feature
To add a search feature, open the project in an IDE or your favorite text editor. For IntelliJ IDEA, use
File > New Project > Static Web and point to the ng2-demo directory.
The Basics
In a terminal window, cd into your project's directory and run the following command. This will create a search component.
$ ng g component search
installing component
  create src/app/search/search.component.css
  create src/app/search/search.component.html
  create src/app/search/search.component.spec.ts
  create src/app/search/search.component.ts
  create src/app/search/index.ts
Adding a Search Route
In previous versions of CLI, you could generate a route
and a component. However, since beta 8, route generation has been
disabled. This will likely be re-enabled in a future release.
The Router
documentation
for Angular 2 RC5 provides the information you need to
setup a route to the SearchComponent you just generated. Here's a quick
summary:
Create src/app/app.routing.ts to define your routes.
import { Routes, RouterModule } from '@angular/router';
import { SearchComponent } from './search/index';

const appRoutes: Routes = [
  { path: 'search', component: SearchComponent },
  { path: '', redirectTo: '/search', pathMatch: 'full' }
];

export const appRoutingProviders: any[] = [];

export const routing = RouterModule.forRoot(appRoutes);
Without the last path to redirect, there's a Cannot match any routes: '' console error.
In src/app/app.module.ts, import the two constants you exported and
configure them in @NgModule:
import { routing, appRoutingProviders } from './app.routing';

import { SearchComponent } from './search/search.component';

@NgModule({
  ...
  imports: [
    ...
    routing
  ],
  providers: [appRoutingProviders],
  ...
})
export class AppModule { }
In src/app/app.component.html, add a RouterOutlet to display routes.
<!-- Routed views go here -->
<router-outlet></router-outlet>
Now that you have routing setup, you can continue writing the search feature.
To allow navigation to the SearchComponent, you can add a link in src/app/app.component.html.
<nav>
  <a routerLink="/search" routerLinkActive="active">Search</a>
</nav>
Open src/app/search/search.component.html and replace its default HTML with the following:
<h2>Search</h2>
<form>
  <input type="search" name="query" [(ngModel)]="query" (keyup.enter)="search()">
  <button type="button" (click)="search()">Search</button>
</form>
<pre>{{searchResults | json}}</pre>
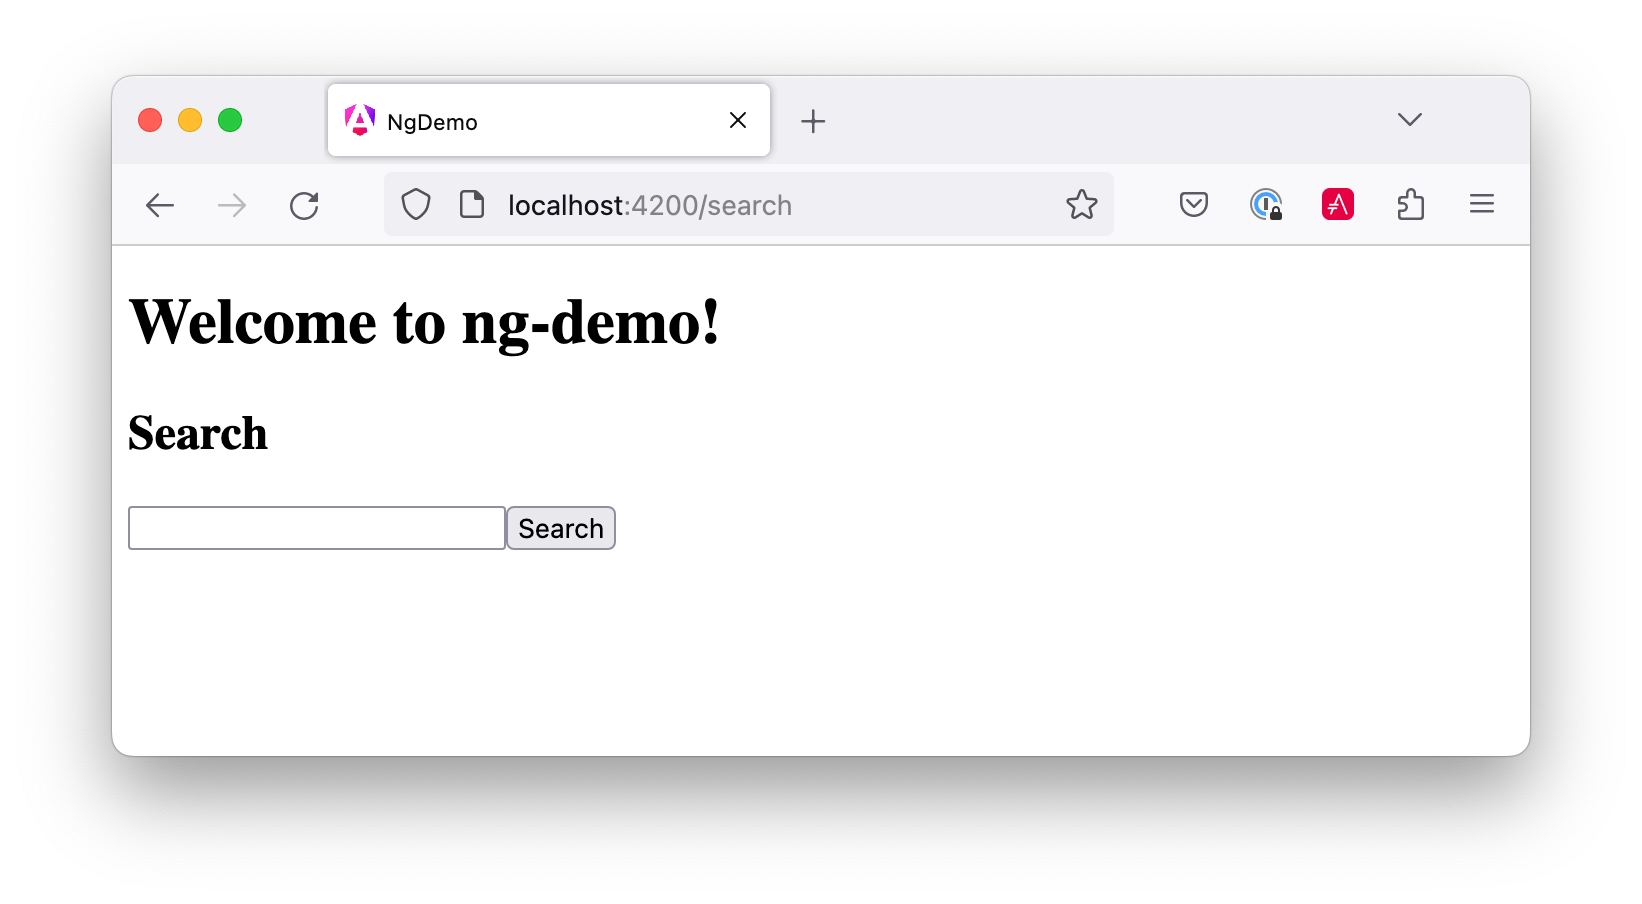
If you still have ng serve running, your browser should refresh automatically.
If not, navigate to http://localhost:4200, and you should see
the search form.
If you want to add CSS for this components, open src/app/search/search.component.css and
add some CSS. For example:
:host {
  display: block;
  padding: 0 20px;
}
This section has shown you how to generate a new component to a basic Angular 2 application
with Angular CLI. The next section shows you how to create a use a JSON file and localStorage to
create a fake API.
The Backend
To get search results, create a SearchService that makes HTTP requests to a JSON
file. Start by generating a new service.
ng g service search
Move the generated search.service.ts and its test to app/shared/search. You
will likely need to create this directory.
Then, create src/app/shared/search/data/people.json to hold your data.
[
  {
    "id": 1,
    "name": "Peyton Manning",
    "phone": "(303) 567-8910",
    "address": {
      "street": "1234 Main Street",
      "city": "Greenwood Village",
      "state": "CO",
      "zip": "80111"
    }
  },
  {
    "id": 2,
    "name": "Demaryius Thomas",
    "phone": "(720) 213-9876",
    "address": {
      "street": "5555 Marion Street",
      "city": "Denver",
      "state": "CO",
      "zip": "80202"
    }
  },
  {
    "id": 3,
    "name": "Von Miller",
    "phone": "(917) 323-2333",
    "address": {
      "street": "14 Mountain Way",
      "city": "Vail",
      "state": "CO",
      "zip": "81657"
    }
  }
]
Modify src/app/shared/search/search.service.ts and provide Http as
a dependency in its constructor. In this same file, create a getAll() method to gather all the people. Also,
define the Address and Person classes that JSON will be marshalled to.
import { Injectable } from '@angular/core';
import { Http, Response } from '@angular/http';

@Injectable()
export class SearchService {
  constructor(private http: Http) {}

  getAll() {
    return this.http.get('app/shared/search/data/people.json').map((res: Response) => res.json());
  }
}

export class Address {
  street: string;
  city: string;
  state: string;
  zip: string;

  constructor(obj?: any) {
    this.street = obj && obj.street || null;
    this.city = obj && obj.city || null;
    this.state = obj && obj.state || null;
    this.zip = obj && obj.zip || null;
  }
}

export class Person {
  id: number;
  name: string;
  phone: string;
  address: Address;

  constructor(obj?: any) {
    this.id = obj && Number(obj.id) || null;
    this.name = obj && obj.name || null;
    this.phone = obj && obj.phone || null;
    this.address = obj && obj.address || null;
  }
}
To make these classes available for consumption by your components, edit src/app/shared/index.ts
and add the following:
export * from './search/search.service';
In search.component.ts, add imports for these classes.
import { Person, SearchService } from '../shared/index';
You can now add query and searchResults variables. While you're
there, modify the constructor to inject the SearchService.
export class SearchComponent implements OnInit {
  query: string;
  searchResults: Array<Person>;

  constructor(private searchService: SearchService) {}
Then implement the search() method to call the service's getAll() method.
search(): void {
  this.searchService.getAll().subscribe(
    data => { this.searchResults = data; },
    error => console.log(error)
  );
}
At this point, you'll likely see the following message in your browser's console.
ORIGINAL EXCEPTION: No provider for SearchService!
To fix the "No provider" error from above, update app.component.ts to import the SearchService
and add the service to the list of providers.
import { SearchService } from './shared/index';

@Component({
  ...
  styleUrls: ['app.component.css'],
  viewProviders: [SearchService]
})
Now clicking the search button should work. To make the results look better, remove the
<pre> tag and replace it with a <table>.
<table *ngIf="searchResults">
  <thead>
  <tr>
    <th>Name</th>
    <th>Phone</th>
    <th>Address</th>
  </tr>
  </thead>
  <tbody>
  <tr *ngFor="let person of searchResults; let i=index">
    <td>{{person.name}}</td>
    <td>{{person.phone}}</td>
    <td>{{person.address.street}}<br/>
      {{person.address.city}}, {{person.address.state}} {{person.address.zip}}
    </td>
  </tr>
  </tbody>
</table>
Then add some additional CSS to improve its table layout.
table {
  margin-top: 10px;
  border-collapse: collapse;
}

th {
  text-align: left;
  border-bottom: 2px solid #ddd;
  padding: 8px;
}

td {
  border-top: 1px solid #ddd;
  padding: 8px;
}
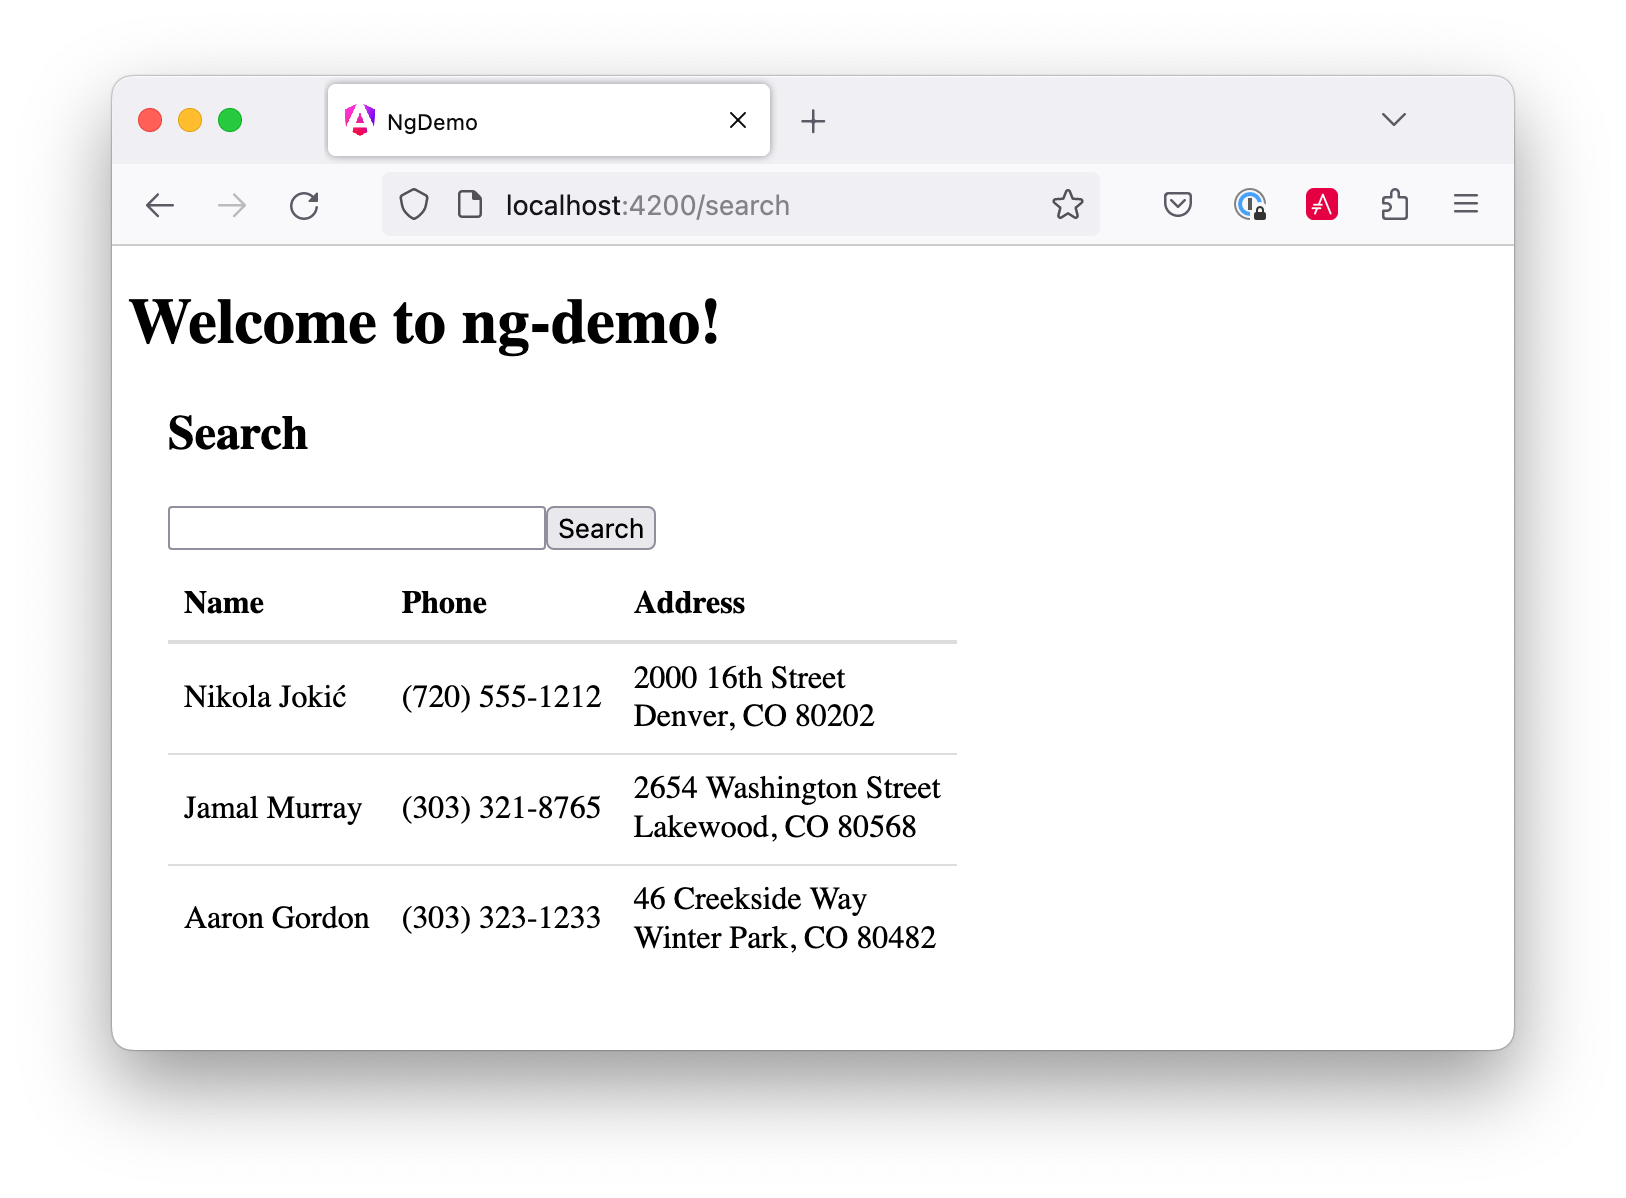
Now the search results look better.
But wait, we still don't have search functionality! To add a search feature, add a
search() method to SearchService.
search(q: string) {
  if (!q || q === '*') {
    q = '';
  } else {
    q = q.toLowerCase();
  }
  return this.getAll().map(data => {
    let results: any = [];
    data.map(item => {
      if (JSON.stringify(item).toLowerCase().includes(q)) {
        results.push(item);
      }
    });
    return results;
  });
}
Then refactor SearchComponent to call this method with its query variable.
search(): void {
  this.searchService.search(this.query).subscribe(
    data => { this.searchResults = data; },
    error => console.log(error)
  );
}
Now search results will be filtered by the query value you type in.
This section showed you how to fetch and display search results. The next section builds on this and shows how to edit and save a record.
Add an edit feature
Modify search.component.html to add a click handler for editing a person.
<td><a (click)="onSelect(person)">{{person.name}}</a></td>
In previous versions of Angular 2, you could embed a link with parameters directly into the HTML. For example:
<a [routerLink]="['/edit', person.id]">
Unfortunately, this doesn't work with RC5. Another issue is adding href="" causes
the page to refresh. Without href, the link doesn't look like a link.
If you know of a solution to this problem, please send me a pull request.
Then add onSelect(person) to search.component.ts. You'll need to import
Router and set it as a local variable to make this work.
import { Router } from '@angular/router';
...
export class SearchComponent implements OnInit {
  ...

  constructor(private searchService: SearchService, private router: Router) { }

  ...

  onSelect(person: Person) {
    this.router.navigate(['/edit', person.id]);
  }
}
Run the following command to generate an EditComponent.
$ ng g component edit
installing component
  create src/app/edit/edit.component.css
  create src/app/edit/edit.component.html
  create src/app/edit/edit.component.spec.ts
  create src/app/edit/edit.component.ts
  create src/app/edit/index.ts
Add a route for this component in app.routing.ts:
import { EditComponent } from './edit/index';

const appRoutes: Routes = [
  { path: 'search', component: SearchComponent },
  { path: 'edit/:id', component: EditComponent },
  { path: '', redirectTo: '/search', pathMatch: 'full' }
];
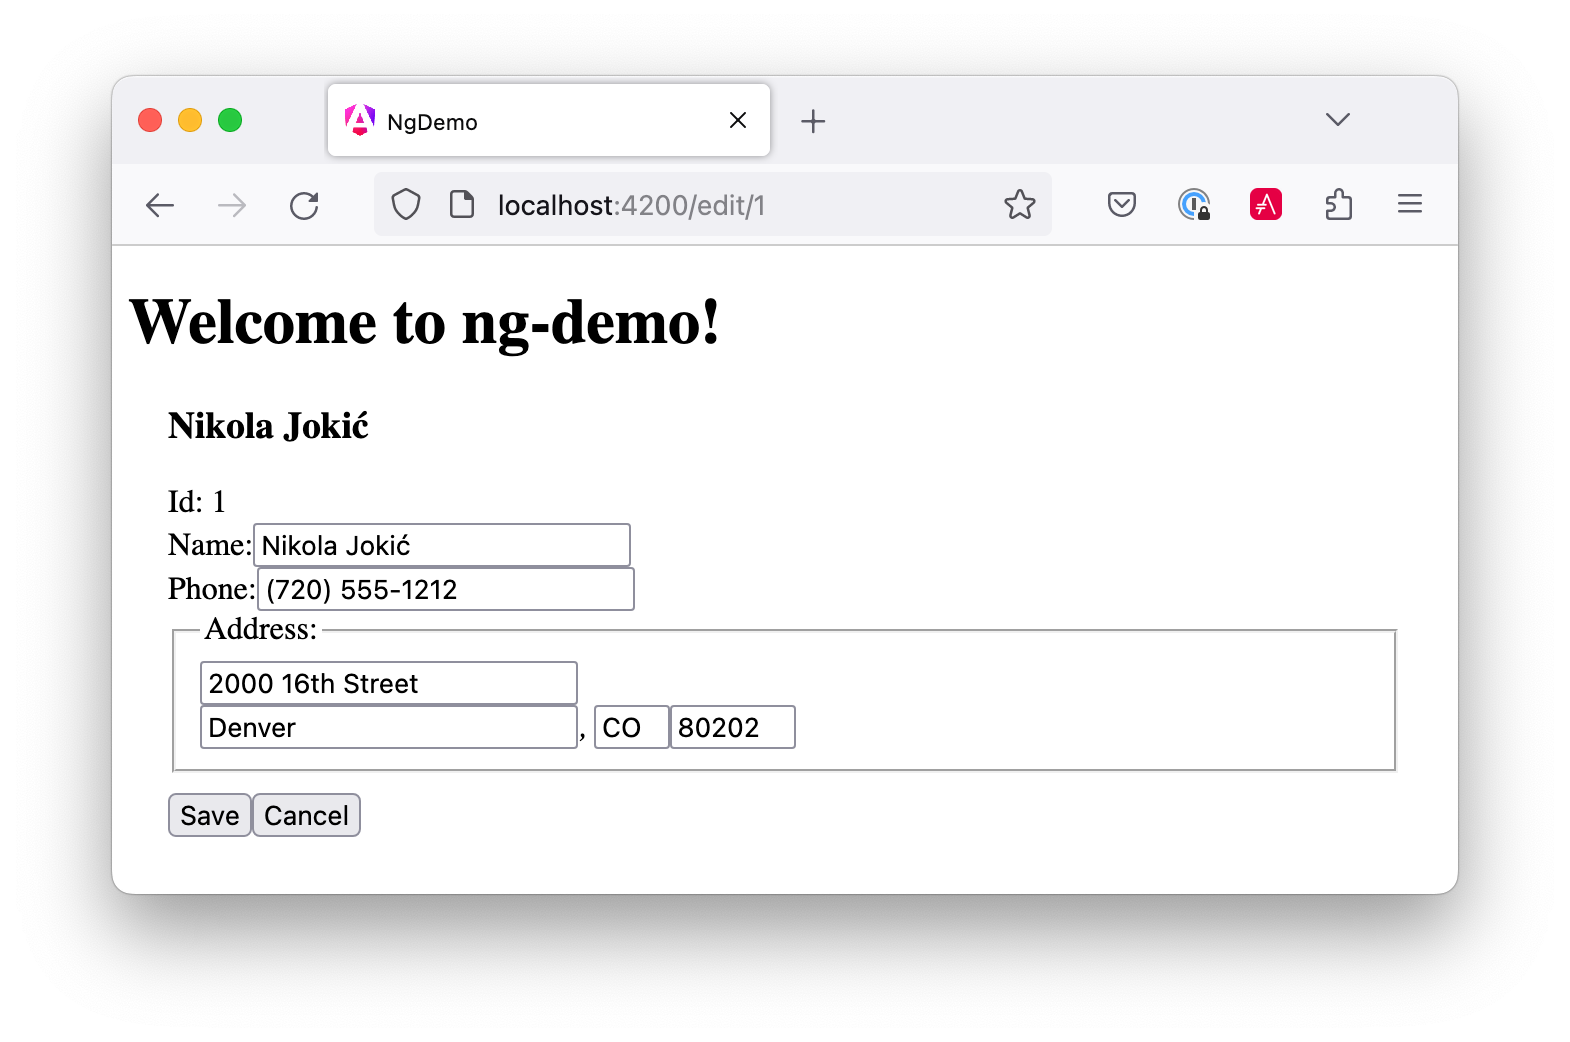
Update src/app/edit/edit.component.html to display an editable form. You might notice
I've added id attributes to most elements. This is to
make things easier when writing integration tests with Protractor.
<div *ngIf="person">
  <h3>{{editName}}</h3>
  <div>
    <label>Id:</label>
    {{person.id}}
  </div>
  <div>
    <label>Name:</label>
    <input [(ngModel)]="editName" name="name" id="name" placeholder="name"/>
  </div>
  <div>
    <label>Phone:</label>
    <input [(ngModel)]="editPhone" name="phone" id="phone" placeholder="Phone"/>
  </div>
  <fieldset>
    <legend>Address:</legend>
    <address>
      <input [(ngModel)]="editAddress.street" id="street"><br/>
      <input [(ngModel)]="editAddress.city" id="city">,
      <input [(ngModel)]="editAddress.state" id="state" size="2">
      <input [(ngModel)]="editAddress.zip" id="zip" size="5">
    </address>
  </fieldset>
  <button (click)="save()" id="save">Save</button>
  <button (click)="cancel()" id="cancel">Cancel</button>
</div>
Modify EditComponent to import model and service classes and to use the
SearchService to get data.
import { Component, OnInit, OnDestroy } from '@angular/core';
import { Address, Person, SearchService } from '../shared/index';
import { Subscription } from 'rxjs';
import { ActivatedRoute, Router } from '@angular/router';

@Component({
  selector: 'app-edit',
  templateUrl: 'edit.component.html',
  styleUrls: ['edit.component.css']
})
export class EditComponent implements OnInit, OnDestroy {
  person: Person;
  editName: string;
  editPhone: string;
  editAddress: Address;

  sub: Subscription;

  constructor(private route: ActivatedRoute,
              private router: Router,
              private service: SearchService) {
  }

  ngOnInit() {
    this.sub = this.route.params.subscribe(params => {
      let id = + params['id']; // (+) converts string 'id' to a number
      this.service.get(id).subscribe(person => {
        if (person) {
          this.editName = person.name;
          this.editPhone = person.phone;
          this.editAddress = person.address;
          this.person = person;
        } else {
          this.gotoList();
        }
      });
    });
  }

  ngOnDestroy() {
    this.sub.unsubscribe();
  }

  cancel() {
    this.router.navigate(['/search']);
  }

  save() {
    this.person.name = this.editName;
    this.person.phone = this.editPhone;
    this.person.address = this.editAddress;
    this.service.save(this.person);
    this.gotoList();
  }

  gotoList() {
    if (this.person) {
      this.router.navigate(['/search', {term: this.person.name} ]);
    } else {
      this.router.navigate(['/search']);
    }
  }
}
Modify SearchService to contain functions for finding a person by their id, and saving
them. While you're in there, modify the search() method to
be aware of updated objects in localStorage.
search(q: string) {
  if (!q || q === '*') {
    q = '';
  } else {
    q = q.toLowerCase();
  }
  return this.getAll().map(data => {
    let results: any = [];
    data.map(item => {
      // check for item in localStorage
      if (localStorage['person' + item.id]) {
        item = JSON.parse(localStorage['person' + item.id]);
      }
      if (JSON.stringify(item).toLowerCase().includes(q)) {
        results.push(item);
      }
    });
    return results;
  });
}

get(id: number) {
  return this.getAll().map(all => {
    if (localStorage['person' + id]) {
      return JSON.parse(localStorage['person' + id]);
    }
    return all.find(e => e.id === id);
  });
}

save(person: Person) {
  localStorage['person' + person.id] = JSON.stringify(person);
}
You can add CSS to src/app/edit/edit.component.css if you want to make the form look a
bit better.
:host {
  display: block;
  padding: 0 20px;
}

button {
  margin-top: 10px;
}
At this point, you should be able to search for a person and update their information.
The <form> in src/app/edit/edit.component.html calls a save()
function to update a person's data. You already implemented this above.
The function calls a gotoList() function that appends the person's name to the URL when
sending the user back to the search screen.
gotoList() {
  if (this.person) {
    this.router.navigate(['/search', {term: this.person.name} ]);
  } else {
    this.router.navigate(['/search']);
  }
}
Since the SearchComponent doesn't execute a search automatically when you execute this
URL, add the following logic to do so in its constructor.
import { Router, ActivatedRoute } from '@angular/router';
import { Subscription } from 'rxjs';
...
  sub: Subscription;

  constructor(private searchService: SearchService, private router: Router, private route: ActivatedRoute) {
    this.sub = this.route.params.subscribe(params => {
      if (params['term']) {
        this.query = decodeURIComponent(params['term']);
        this.search();
      }
    });
  }
You'll want to implement OnDestroy and define the ngOnDestroy method to
clean up this subscription.
import { Component, OnInit, OnDestroy } from '@angular/core';

export class SearchComponent implements OnInit, OnDestroy {
...
  ngOnDestroy() {
    this.sub.unsubscribe();
  }
}
After making all these changes, you should be able to search/edit/update a person's information. If it works - nice job!
Testing
Now that you've built an application, it's important to test it to ensure it works. The best reason for writing tests is to automate your testing. Without tests, you'll likely be testing manually. This manual testing will take longer and longer as your application grows.
In this section, you'll learn to use Jasmine for unit testing controllers and Protractor for integration testing. Angular's testing documentation lists good reasons to test, but doesn't currently have many examples.
Unit test the SearchService
Modify src/app/shared/search/search.service.spec.ts and setup the test's infrastructure
using MockBackend
and BaseRequestOptions.
import { MockBackend } from '@angular/http/testing';
import { Http, ConnectionBackend, BaseRequestOptions, Response, ResponseOptions } from '@angular/http';
import { SearchService } from './search.service';
import { tick, fakeAsync } from '@angular/core/testing/fake_async';
import { inject, TestBed } from '@angular/core/testing/test_bed';

describe('SearchService', () => {
  beforeEach(() => {

    TestBed.configureTestingModule({
      providers: [
        {
          provide: Http, useFactory: (backend: ConnectionBackend, defaultOptions: BaseRequestOptions) => {
          return new Http(backend, defaultOptions);
        }, deps: [MockBackend, BaseRequestOptions]
        },
        {provide: SearchService, useClass: SearchService},
        {provide: MockBackend, useClass: MockBackend},
        {provide: BaseRequestOptions, useClass: BaseRequestOptions}
      ]
    });
  });
});
If you run ng test, you will likely see some errors about the test stubs that Angular
CLI created for you. You can ignore these for now.
ERROR in [default] /Users/mraible/ng2-demo/src/app/edit/edit.component.spec.ts:10:20
Supplied parameters do not match any signature of call target.

ERROR in [default] /Users/mraible/ng2-demo/src/app/search/search.component.spec.ts:10:20
Supplied parameters do not match any signature of call target.
Add the first test of getAll() to search.service.spec.ts. This test shows
how MockBackend can be used to mock results and set the response.
TIP:
When you are testing code that returns either a Promise or an RxJS Observable, you can use
the fakeAsync helper to test that code as if it were synchronous.
Promises are be fulfilled and Observables are notified immediately after you call tick().
The test below should be on the same level as beforeEach.
it('should retrieve all search results',
  inject([SearchService, MockBackend], fakeAsync((searchService: SearchService, mockBackend: MockBackend) => {
    let res: Response;
    mockBackend.connections.subscribe(c => {
      expect(c.request.url).toBe('app/shared/search/data/people.json');
      let response = new ResponseOptions({body: '[{"name": "John Elway"}, {"name": "Gary Kubiak"}]'});
      c.mockRespond(new Response(response));
    });
    searchService.getAll().subscribe((response) => {
      res = response;
    });
    tick();
    expect(res[0].name).toBe('John Elway');
  }))
);
Notice that tests continually run as you add them when using ng test. You can run tests
once by using ng test --watch=false.
You will likely see "Executed 5 of 5 (1 FAILED)" in your terminal.
Add a couple more tests for filtering by search term and fetching by id.
it('should filter by search term',
  inject([SearchService, MockBackend], fakeAsync((searchService: SearchService, mockBackend: MockBackend) => {
    let res;
    mockBackend.connections.subscribe(c => {
      expect(c.request.url).toBe('app/shared/search/data/people.json');
      let response = new ResponseOptions({body: '[{"name": "John Elway"}, {"name": "Gary Kubiak"}]'});
      c.mockRespond(new Response(response));
    });
    searchService.search('john').subscribe((response) => {
      res = response;
    });
    tick();
    expect(res[0].name).toBe('John Elway');
  }))
);

it('should fetch by id',
  inject([SearchService, MockBackend], fakeAsync((searchService: SearchService, mockBackend: MockBackend) => {
    let res;
    mockBackend.connections.subscribe(c => {
      expect(c.request.url).toBe('app/shared/search/data/people.json');
      let response = new ResponseOptions({body: '[{"id": 1, "name": "John Elway"}, {"id": 2, "name": "Gary Kubiak"}]'});
      c.mockRespond(new Response(response));
    });
    searchService.search('2').subscribe((response) => {
      res = response;
    });
    tick();
    expect(res[0].name).toBe('Gary Kubiak');
  }))
);
Unit test the SearchComponent
To unit test the SearchComponent, create a MockSearchProvider that has
spies.
These allow you to spy on functions to check if they were called.
Create src/app/shared/search/mocks/search.service.ts and populate it with spies for each
method, as well as methods to set the response and subscribe to results.
import { SpyObject } from './helper';
import { SearchService } from '../search.service';
import Spy = jasmine.Spy;

export class MockSearchService extends SpyObject {
  getAllSpy: Spy;
  getByIdSpy: Spy;
  searchSpy: Spy;
  saveSpy: Spy;
  fakeResponse: any;

  constructor() {
    super( SearchService );

    this.fakeResponse = null;
    this.getAllSpy = this.spy('getAll').andReturn(this);
    this.getByIdSpy = this.spy('get').andReturn(this);
    this.searchSpy = this.spy('search').andReturn(this);
    this.saveSpy = this.spy('save').andReturn(this);
  }

  subscribe(callback: any) {
    callback(this.fakeResponse);
  }

  setResponse(json: any): void {
    this.fakeResponse = json;
  }
}
In this same directory, create a helper.ts class to implement the
SpyObject that MockSearchService extends.
import {StringMapWrapper} from '@angular/core/src/facade/collection';

export interface GuinessCompatibleSpy extends jasmine.Spy {
  /** By chaining the spy with and.returnValue, all calls to the function will return a specific
   * value. */
  andReturn(val: any): void;
  /** By chaining the spy with and.callFake, all calls to the spy will delegate to the supplied
   * function. */
  andCallFake(fn: Function): GuinessCompatibleSpy;
  /** removes all recorded calls */
  reset();
}

export class SpyObject {
  static stub(object = null, config = null, overrides = null) {
    if (!(object instanceof SpyObject)) {
      overrides = config;
      config = object;
      object = new SpyObject();
    }

    let m = StringMapWrapper.merge(config, overrides);
    StringMapWrapper.forEach(m, (value, key) => { object.spy(key).andReturn(value); });
    return object;
  }

  constructor(type = null) {
    if (type) {
      for (let prop in type.prototype) {
        let m = null;
        try {
          m = type.prototype[prop];
        } catch (e) {
          // As we are creating spys for abstract classes,
          // these classes might have getters that throw when they are accessed.
          // As we are only auto creating spys for methods, this
          // should not matter.
        }
        if (typeof m === 'function') {
          this.spy(prop);
        }
      }
    }
  }

  spy(name) {
    if (!this[name]) {
      this[name] = this._createGuinnessCompatibleSpy(name);
    }
    return this[name];
  }

  prop(name, value) { this[name] = value; }

  /** @internal */
  _createGuinnessCompatibleSpy(name): GuinessCompatibleSpy {
    let newSpy: GuinessCompatibleSpy = <any>jasmine.createSpy(name);
    newSpy.andCallFake = <any>newSpy.and.callFake;
    newSpy.andReturn = <any>newSpy.and.returnValue;
    newSpy.reset = <any>newSpy.calls.reset;
    // revisit return null here (previously needed for rtts_assert).
    newSpy.and.returnValue(null);
    return newSpy;
  }
}
Alongside, create routes.ts to mock Angular's Router and ActivatedRoute.
import { ActivatedRoute, Params } from '@angular/router';
import { Observable } from 'rxjs';

export class MockActivatedRoute extends ActivatedRoute {
  params: Observable<Params>

  constructor(parameters?: { [key: string]: any; }) {
    super();
    this.params = Observable.of(parameters);
  }
}

export class MockRouter {
  navigate = jasmine.createSpy('navigate');
}
With mocks in place, you can TestBed.configureTestingModule() to setup SearchComponent
to use these as providers.
import { ActivatedRoute, Router } from '@angular/router';
import { MockActivatedRoute, MockRouter } from '../shared/search/mocks/routes';
import { MockSearchService } from '../shared/search/mocks/search.service';
import { SearchComponent } from './search.component';
import { TestBed } from '@angular/core/testing/test_bed';
import { FormsModule } from '@angular/forms';
import { SearchService } from '../shared/search/search.service';

describe('Component: Search', () => {
  let mockSearchService: MockSearchService;
  let mockActivatedRoute: MockActivatedRoute;
  let mockRouter: MockRouter;

  beforeEach(() => {
    mockSearchService = new MockSearchService();
    mockActivatedRoute = new MockActivatedRoute({'term': 'peyton'});
    mockRouter = new MockRouter();

    TestBed.configureTestingModule({
      declarations: [SearchComponent],
      providers: [
        {provide: SearchService, useValue: mockSearchService},
        {provide: ActivatedRoute, useValue: mockActivatedRoute},
        {provide: Router, useValue: mockRouter}
      ],
      imports: [FormsModule]
    });
  });
});
Add two tests, one to verify a search term is used when it's set on the component, and a second to verify search is called when a term is passed in as a route parameter.
it('should search when a term is set and search() is called', () => {
  let fixture = TestBed.createComponent(SearchComponent);
  let searchComponent = fixture.debugElement.componentInstance;
  searchComponent.query = 'M';
  searchComponent.search();
  expect(mockSearchService.searchSpy).toHaveBeenCalledWith('M');
});

it('should search automatically when a term is on the URL', () => {
  let fixture = TestBed.createComponent(SearchComponent);
  fixture.detectChanges();
  expect(mockSearchService.searchSpy).toHaveBeenCalledWith('peyton');
});
After adding these tests, you should see the first instance of all tests passing (Executed 8 of 8 SUCCESS).
Update the test for EditComponent, verifying fetching a single record works. Notice
how you can access the component directly with fixture.debugElement.componentInstance, or
its rendered version with fixture.debugElement.nativeElement.
import { MockSearchService } from '../shared/search/mocks/search.service';
import { EditComponent } from './edit.component';
import { TestBed } from '@angular/core/testing/test_bed';
import { SearchService } from '../shared/search/search.service';
import { MockRouter, MockActivatedRoute } from '../shared/search/mocks/routes';
import { ActivatedRoute, Router } from '@angular/router';
import { FormsModule } from '@angular/forms';

describe('Component: Edit', () => {
  let mockSearchService: MockSearchService;
  let mockActivatedRoute: MockActivatedRoute;
  let mockRouter: MockRouter;

  beforeEach(() => {
    mockSearchService = new MockSearchService();
    mockActivatedRoute = new MockActivatedRoute({'id': 1});
    mockRouter = new MockRouter();

    TestBed.configureTestingModule({
      declarations: [EditComponent],
      providers: [
        {provide: SearchService, useValue: mockSearchService},
        {provide: ActivatedRoute, useValue: mockActivatedRoute},
        {provide: Router, useValue: mockRouter}
      ],
      imports: [FormsModule]
    });
  });

  it('should fetch a single record', () => {
    const fixture = TestBed.createComponent(EditComponent);

    let person = {name: 'Emmanuel Sanders', address: {city: 'Denver'}};
    mockSearchService.setResponse(person);

    fixture.detectChanges();
    // verify service was called
    expect(mockSearchService.getByIdSpy).toHaveBeenCalledWith(1);

    // verify data was set on component when initialized
    let editComponent = fixture.debugElement.componentInstance;
    expect(editComponent.editAddress.city).toBe('Denver');

    // verify HTML renders as expected
    let compiled = fixture.debugElement.nativeElement;
    expect(compiled.querySelector('h3').innerHTML).toBe('Emmanuel Sanders');
  });
});
You should see "Executed 8 of 8 SUCCESS (0.238 secs / 0.259
secs)" in the shell window that's running ng test. If you don't, try cancelling the command and
restarting.
Integration test the search UI
To test if the application works end-to-end, you can write tests with Protractor. These are also known as integration tests, since they test the integration between all layers of your application.
To verify end-to-end tests work in the project before you begin, run the following commands in three different console windows.
ng serve
ng e2e
All tests should pass.
$ ng e2e

> [email protected] pree2e /Users/mraible/dev/ng2-demo
> webdriver-manager update

Updating selenium standalone to version 2.52.0
downloading https://selenium-release.storage.googleapis.com/2.52/selenium-server-standalone-2.52.0.jar...
Updating chromedriver to version 2.21
downloading https://chromedriver.storage.googleapis.com/2.21/chromedriver_mac32.zip...
chromedriver_2.21mac32.zip downloaded to /Users/mraible/dev/ng2-demo/node_modules/protractor/selenium/chromedriver_2.21mac32.zip
selenium-server-standalone-2.52.0.jar downloaded to /Users/mraible/dev/ng2-demo/node_modules/protractor/selenium/selenium-server-standalone-2.52.0.jar

> [email protected] e2e /Users/mraible/dev/ng2-demo
> protractor "config/protractor.conf.js"

[00:01:07] I/direct - Using ChromeDriver directly...
[00:01:07] I/launcher - Running 1 instances of WebDriver
Spec started

  ng2-demo App
    ✔ should display message saying app works

Executed 1 of 1 spec SUCCESS in 0.684 sec.
[00:01:09] I/launcher - 0 instance(s) of WebDriver still running
[00:01:09] I/launcher - chrome #01 passed

All end-to-end tests pass.
Testing the search feature
Create end-to-end tests in e2e/search.e2e-spec.ts to verify the search feature works.
Populate it with the following code:
describe('Search', () => {

  beforeEach(() => {
    browser.get('/search');
    element(by.linkText('Search')).click();
  });

  it('should have an input and search button', () => {
    expect(element(by.css('app-root app-search form input')).isPresent()).toEqual(true);
    expect(element(by.css('app-root app-search form button')).isPresent()).toEqual(true);
  });

  it('should allow searching', () => {
    let searchButton = element(by.css('button'));
    let searchBox = element(by.css('input'));
    searchBox.sendKeys('M');
    searchButton.click().then(() => {
      var list = element.all(by.css('app-search table tbody tr'));
      expect(list.count()).toBe(3);
    });
  });
});
Testing the edit feature
Create a e2e/edit.e2e-spec.ts test to verify the EditComponent renders a
person's information and that their information can be updated.
describe('Edit', () => {

  beforeEach(() => {
    browser.get('/edit/1');
  });

  let name = element(by.id('name'));
  let street = element(by.id('street'));
  let city = element(by.id('city'));

  it('should allow viewing a person', () => {
    expect(element(by.css('h3')).getText()).toEqual('Peyton Manning');
    expect(name.getAttribute('value')).toEqual('Peyton Manning');
    expect(street.getAttribute('value')).toEqual('1234 Main Street');
    expect(city.getAttribute('value')).toEqual('Greenwood Village');
  });

  it('should allow updating a name', function () {
    let save = element(by.id('save'));
    // send individual characters since sendKeys passes partial values sometimes
    // https://github.com/angular/protractor/issues/698
    ' Won!'.split('').forEach((c) => name.sendKeys(c));
    save.click();
    // verify one element matched this change
    var list = element.all(by.css('app-search table tbody tr'));
    expect(list.count()).toBe(1);
  });
});
Run ng e2e to verify all your end-to-end tests pass. You should see a success message
similar to the one below in your terminal window.

If you made it this far and have all your specs passing - congratulations! You're well on your way to writing quality code with Angular 2 and verifying it works.
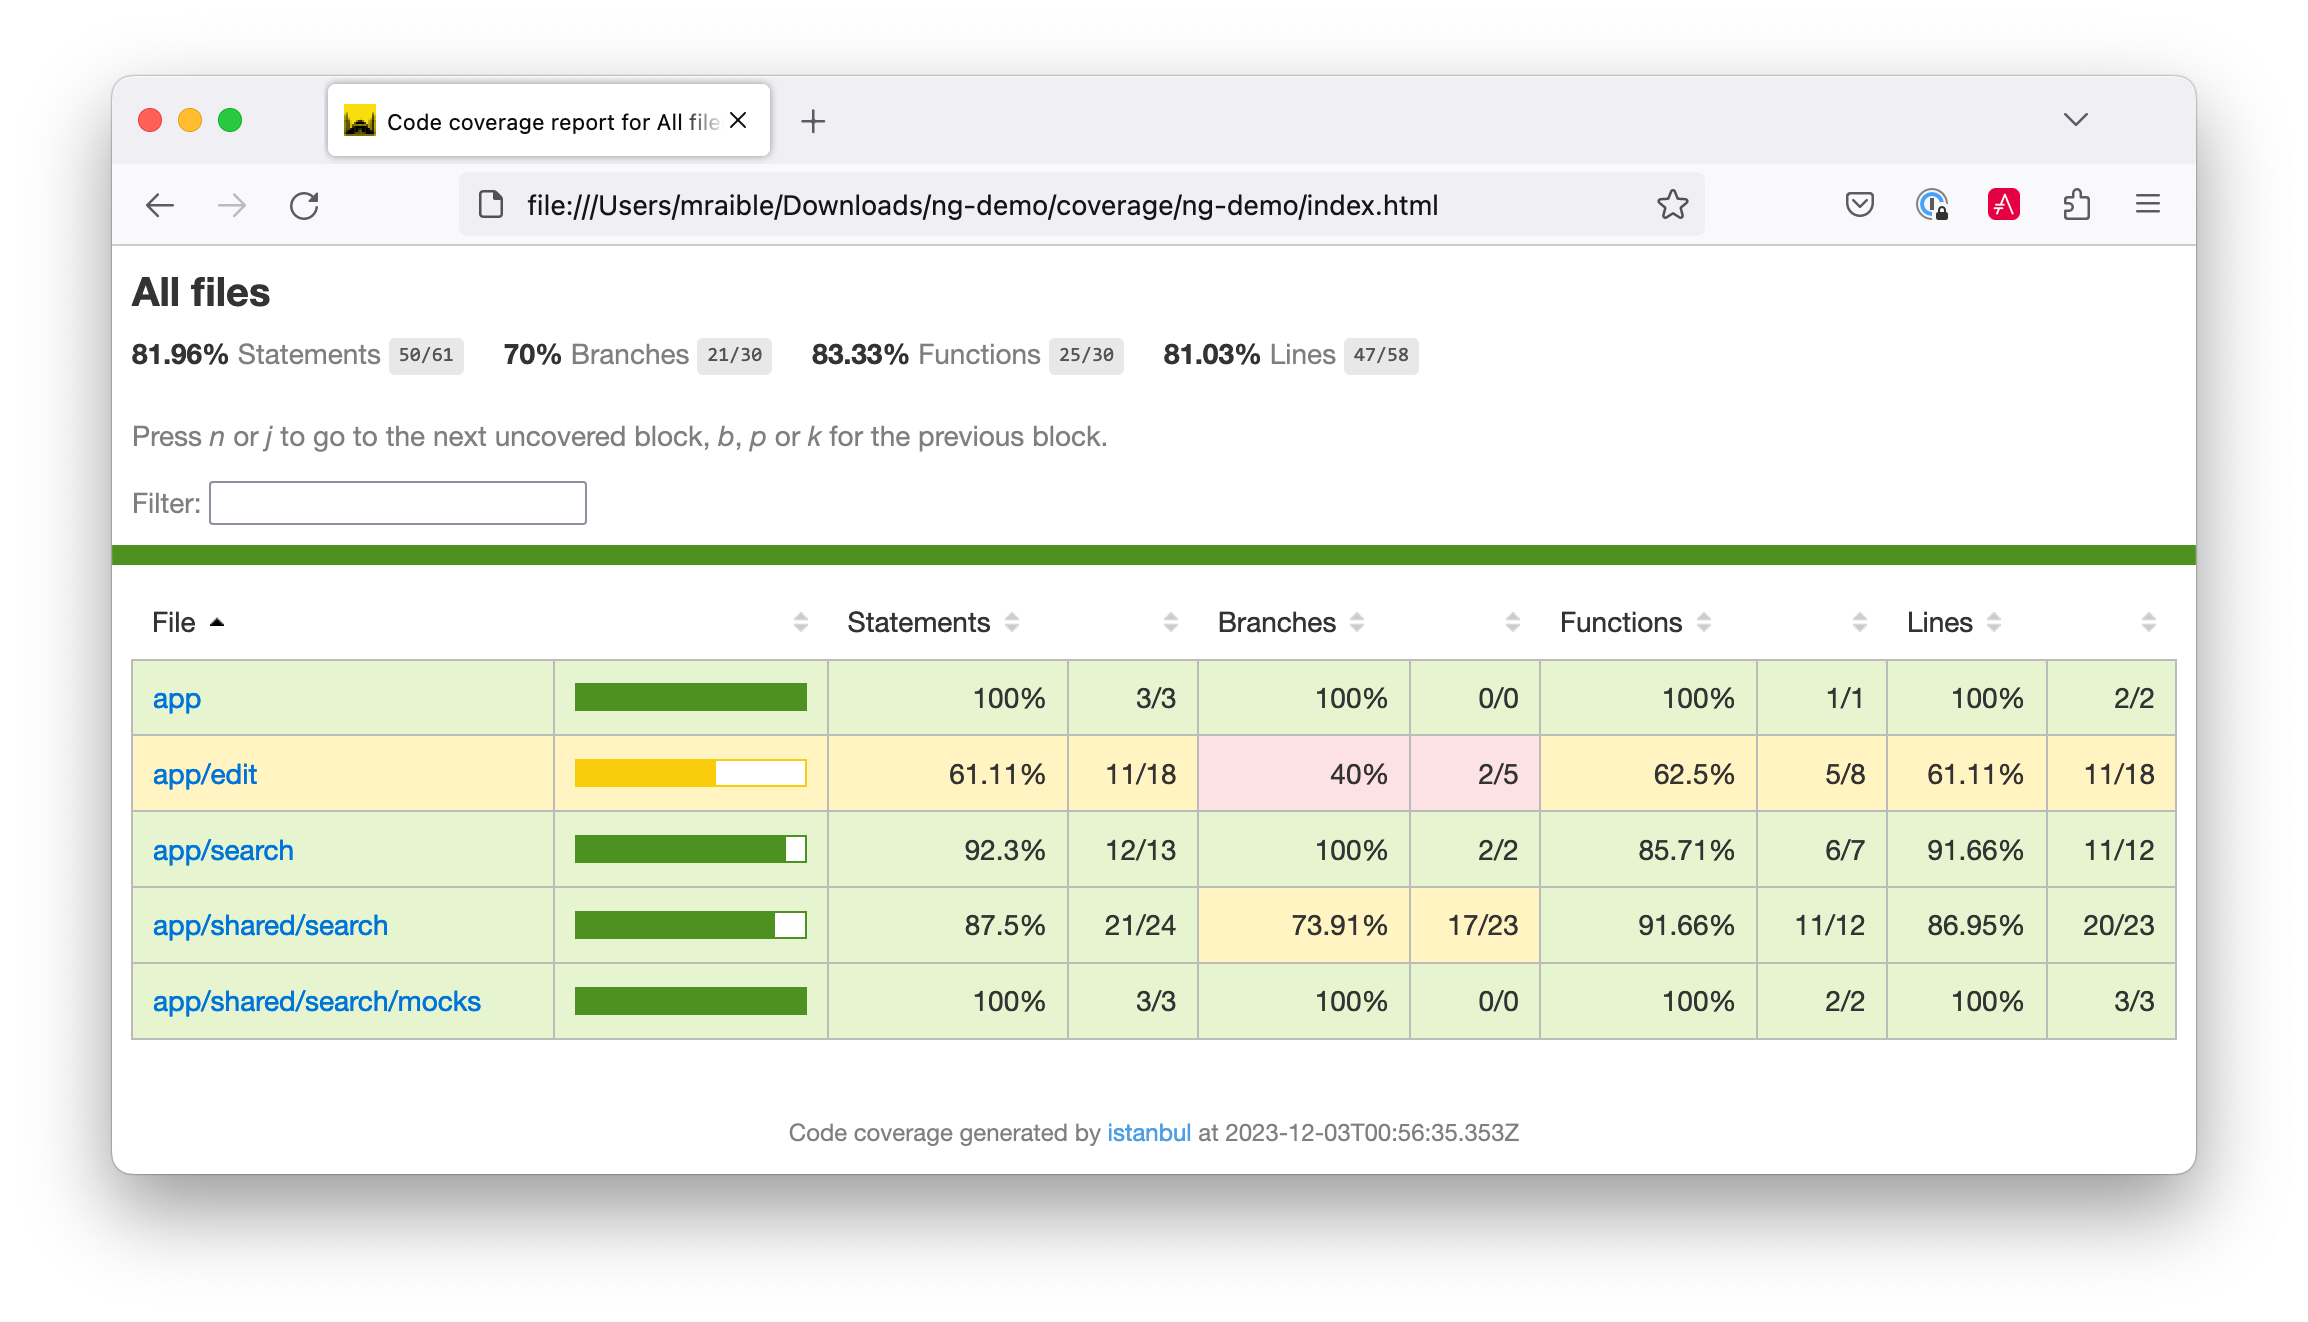
You can see the test coverage of your project by opening coverage/index.html in your
browser. You might notice that the new components and service could use some additional coverage. If you feel
the need to improve this coverage, please send me a pull request!
Continuous Integration
At the time of this writing, Angular CLI did not have any continuous integration support. However, it's
easy to add with Travis CI. If you've checked in your project to GitHub,
you can easily use Travis CI.
Simply login and enable builds for the GitHub repo you created the project in. Then add the following
.travis.yml
in your root directory and git push. This will trigger the first build.
language: node_js
sudo: true

cache:
  directories:
    - node
    - node_modules

dist: trusty

node_js:
  - '5.6.0'

branches:
  only:
  - master

before_install:
 - npm install -g angular-cli
 - export CHROME_BIN=/usr/bin/google-chrome
 - export DISPLAY=:99.0
 - sh -e /etc/init.d/xvfb start
 - sudo apt-get update
 - sudo apt-get install -y libappindicator1 fonts-liberation
 - wget https://dl.google.com/linux/direct/google-chrome-stable_current_amd64.deb
 - sudo dpkg -i google-chrome*.deb

script:
 - ng test --watch false # http://mseemann.de/frontend/2016/05/31/setup-angular-2-app-part-1.html
 - ng serve &
 - ng e2e

notifications:
  webhooks:
    on_success: change  # options: [always|never|change] default: always
    on_failure: always  # options: [always|never|change] default: always
    on_start: false     # default: false
Here is a build showing all unit and integration tests passing.
Source code
A completed project with this code in it is available on GitHub at https://github.com/mraible/ng2-demo. If you have ideas for improvements, please leave a comment or send a pull request.
This tutorial was originally written using Asciidoctor. This means you can read it using DocGist if you like.
Summary
I hope you've enjoyed this in-depth tutorial on how to get started with Angular 2 and Angular CLI. Angular CLI takes much of the pain out of setting up an Angular 2 project and using Typescript. I expect great things from Angular CLI, mostly because the Angular 2 setup process can be tedious and CLI greatly simplifies things.
Posted by Kishor Pawar on August 25, 2016 at 07:28 AM MDT #
Much appreciated, this tutorial.
I ran into a couple hiccups.
1) angular-cli by default installs broccoli instead of webpack, so I had to uninstall angular-cli, cache clean it and then npm install -g angular-cli@webpack because without it there is no app.module.ts
2) In addition to the 'ORIGINAL EXCEPTION: No provider for SearchService!' there was a similar console log for HTTP_PROVIDER
I overcame 2) by making a couple changes to app.module.ts
import { HTTP_PROVIDERS } from '@angular/http';and within @NgModule > providers
Otherwise, thanks for the intro to Angular 2!
Posted by Kyle on August 26, 2016 at 03:11 PM MDT #
Posted by felipe a on January 02, 2017 at 02:51 PM MST #
Posted by RICARDO ESPERGUE on January 24, 2017 at 12:55 PM MST #
Posted by Matt Raible on January 24, 2017 at 02:12 PM MST #
Posted by RICARDO ESPERGUE on January 30, 2017 at 10:53 AM MST #